Skip to content



Among the many power moves embraced by modern ecommerce businesses, tabletop photography is probably the most effective and creative one. It gives them a significant edge in this highly visual ecommerce world where buyers expect clarity and detail before they hit the “place order” button. For brands selling through an online store or marketplace, the quality of your product images determines whether a buyer scrolls past or stops to look.
Tabletop photography is the art and science of capturing products on a flat, controlled surface. This type of photography is effective in showcasing textures, colors, and fine details that help buyers feel confident about their purchase. It is one of the most accessible and cost-effective approaches to product photography for businesses of every size.
In this guide, we will explain every aspect of tabletop photography: from the gear and lighting you need to a step-by-step shooting process, advanced best practices, and how ai product photography tools like WizStudio are reshaping the entire workflow.

What Is Tabletop Photography?
Tabletop photography is a type of photography where you shoot items on a flat surface, usually a table. It is supported by simple backdrops and minimal props. This type of photography is effective in highlighting the product’s features in a clean and visually consistent way.
What sets tabletop photography apart from other forms of ecommerce product photography is the focus on simplicity and control. Instead of capturing products in visually busy environments, tabletop setups allow you to eliminate distractions.
You can showcase your product exactly as the buyer should see it: centered, well-lit, and presented with intention. Whether you are shooting jewelry, electronics, food products, or small items, a controlled environment with a stable surface and proper lighting helps produce consistent product photos across your entire catalog.
Types Of Tabletop Photography
Depending on the shooting angle and the aesthetic you want to achieve, tabletop photography can be approached in several distinct ways. Each approach serves a different purpose in your product photography workflow, and the best catalogs use a combination of these styles to address different buyer expectations and platform requirements.
1. Flat Lay Tabletop Photography

In this type, you arrange products on a flat surface and shoot them from directly above. This style is perfect for showcasing multiple items together. For instance, you could photograph a collection of skincare products that form part of a routine, food photography items that make up a bundle, or a complete outfit laid out garment by garment — flat lay is a staple of apparel photography because it shows a full look without a model or mannequin. The overhead perspective creates a visually organized composition where every item in the frame receives equal emphasis.
2. Styled / Lifestyle Tabletop Photography
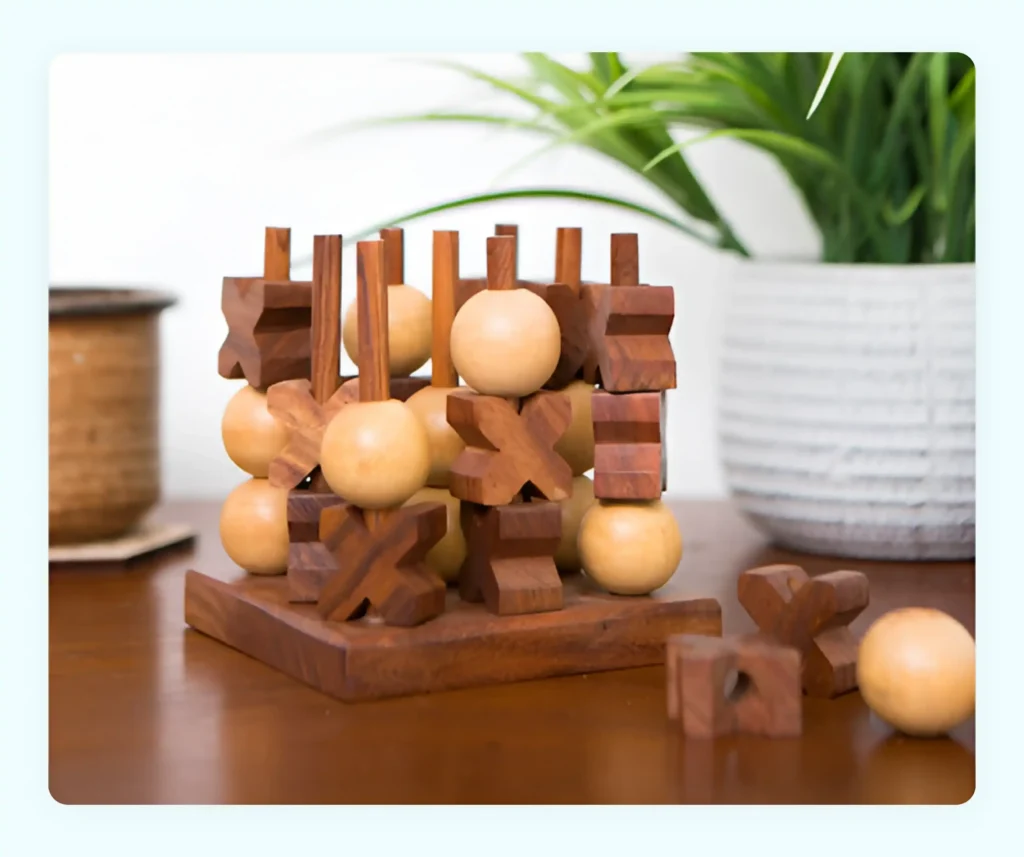
This photography style brings a touch of storytelling into the frame. Instead of displaying products in isolation, you add complementary props or backgrounds to show how the product fits into real life. For example, you could capture a coffee mug beside an open book or a candle on a wooden tray, the staging that defines strong home decor lifestyle photography. The key is to keep the focus on the product while the props add context and warmth. Lifestyle shots created through styled tabletop photography are among the most effective for social media marketing and brand storytelling.
3. Isolated/White Background Photography
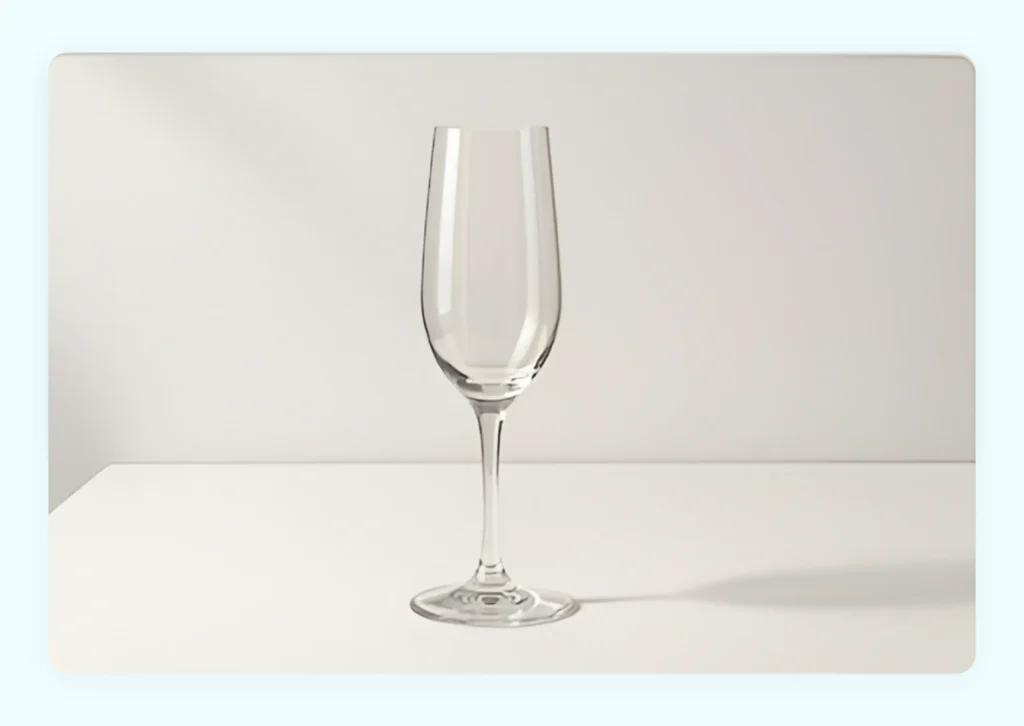
This type follows the typical ecommerce standard. In this, the product is shot alone against a clean white background, the same output a silo product image generator produces without a physical sweep. The goal is accuracy with zero distractions. It ensures uniformity across listings, which, in turn, builds trust and boosts conversion rates.
4. Macro and close-up tabletop photography
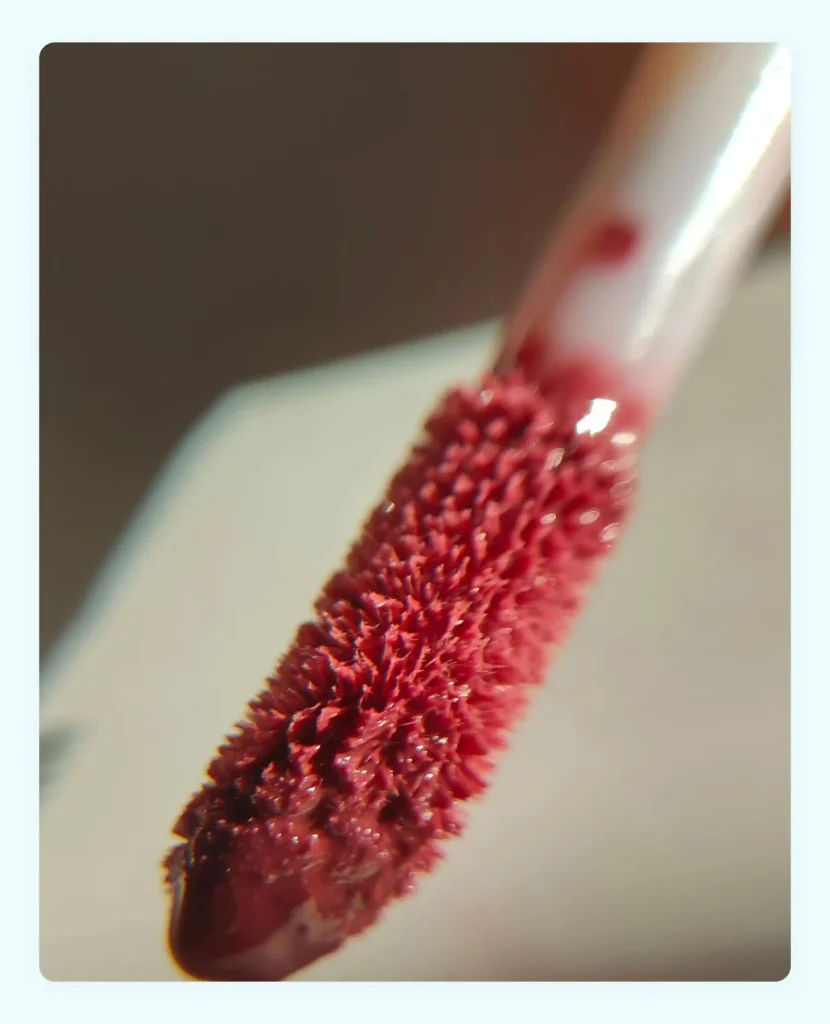
Macro and close-up tabletop photography focuses on capturing extreme detail of small items and product surfaces. Using a macro lens, this approach reveals textures, stitching, engravings, and material quality that standard shots cannot communicate.
It is especially valuable for for jewelry product photography, watch, electronics, and food photography businesses where fine details directly influence purchase decisions. The depth of field is intentionally narrow, keeping the main subject sharp while softly blurring the surrounding area to draw the viewer’s eye to the exact detail you want to highlight.
What Are Some Must-Have Gear And Tools For Tabletop Photography?
To start with tabletop photography, you need a smart mix of essential tools for professional-looking product shots. Here are some must-have and nice-to-have gears and tools you need.
1. Camera And Lenses
While smartphones can work for quick shots, an ecommerce catalog benefits immensely from the precision of a DSLR or mirrorless camera. When you pair it with a macro or a 50mm prime lens, you will end up with extra-sharp details and realistic and accurate colors. The right camera and lenses typically ensure that you capture your products without distortion, which is critical for winning buyer trust.
2. Lighting Setup (Softboxes, Reflectors, And LEDs)
Good lighting is the secret sauce behind every jaw-dropping product shot. Softboxes and LED panels create even lighting that highlights textures and eliminates harsh shadows. This makes your products look polished and true to real life. Reflectors, on the other hand, help fill in dark areas. This ensures every image meets ecommerce standards and looks consistent across your catalog.
3. Backgrounds And Props
For ecommerce listings, clean and neutral backgrounds (especially white) help your product stand out and meet platform guidelines. Props are optional but useful for lifestyle shots where you want to showcase your products along with complementary items that are not too distracting.
4. Tripods And Stabilizers
A solid tripod is essential for maintaining consistency across product angles. This is particularly important when shooting large catalogs. It prevents motion blur and keeps your framing identical from one product to the next. It also speeds up your workflow. For flat lays, an overhead stabilizer or boom arm ensures perfectly aligned top-down shots.
8 Steps To Capture The Perfect Tabletop Product Photograph
Creating high-quality tabletop product photos requires a thoughtful workflow and a bit of creative discipline. Following a structured process ensures your images are upload-ready in no time. Here are 8 essential steps that are part of this structured process:
Step 1: Plan Your Shoot And Concept
Before you pick up the camera, chart out the overall direction of your shoot. A well-defined concept ensures that every creative decision you make, from the composition to the lighting style, works together to highlight your product in the best possible way. Once your concept is set, you can move forward with confidence, knowing that the shoot will be consistent and aligned with your needs and your brand’s visual identity.
Here’s everything you need to plan/account for before starting your photoshoot:
| Planning aspect | Examples |
| Shoot objective | High product clarity/highlight key features/improve conversion rates |
| Target audience | Retailers/wholesalers/value-driven buyers/premium buyers |
| Brand mood | Minimal/premium/playful/natural/bold/colorful |
| Shot list | Hero shot/45° angle/top-down/close-ups/texture/macro |
| Props | Neutral props/color-matched accents/context items |
| Background | White seamless/colored paper/textured board/fabric |
| Lighting direction | Softbox on left/reflector on right/top fill light/natural window light |
| Technical requirements | High-resolution/consistent aspect ratio/RAW format |
Step 2: Set Up The Table And Background
Your table surface and background form the visual tone of your entire shoot. You cannot compromise on their quality. Always use a sturdy shooting table with enough space for your products and props. The table can be any color of your choice as long as it meets your brand aesthetics.
When it comes to background, you can choose seamless white ones or textured boards for lifestyle shots. You may also opt for colored backdrops for brand-centric visuals. But make sure the background is clean and wrinkle-free. More importantly, they must be properly positioned to avoid time-consuming fixes during editing.
A light box is another option for small product photography where you need even, diffused illumination from all sides without setting up a full professional studio arrangement.
Step 3: Mount The Camera
Stability is critical in tabletop photography. Mount your camera on a tripod to keep your framing consistent across shots. This is especially useful when you are capturing multiple angles or variations. Adjust the height and angle based on the concept. For example, eye level for larger products or top-down for flat lays.
💡Tip: Lock your settings (ISO, aperture, shutter speed) to maintain visual uniformity.
Step 4: Arrange The Lighting
Lighting determines how appealing and professional your product looks. Use soft, diffused light through softboxes or LED panels. This will help avoid harsh shadows and highlights. Place your key light to one side of the product and add a fill light or reflector on the opposite side. This will balance contrast.
💡Tip: For reflective items, adjust your shooting angle and light position carefully to avoid unwanted glare. Slight shifts in camera height or light direction can dramatically reduce reflections.
Step 5: Place And Style Your Products
Position your product in the center of the frame. Make sure it’s dust-free and aligned properly. For ecommerce, styling should be minimal. It should be just enough to make the product look polished without distracting from the key subject. If props are used, choose ones that support the brand story. They should enhance the scene rather than overpower the main item.
💡Tip: Take a moment to adjust small details like labels and folds.
Step 6: Fine-Tune Lighting
Once the product is placed, refine your lighting setup. Adjust brightness and test additional reflectors to soften shadows or add highlights where needed. Pay attention to the product’s materials. For instance, matte items often need more directional light. Shiny surfaces may require diffusion to prevent glare. Artificial lighting gives you repeatable results across long shooting sessions, while natural light shifts throughout the day and requires you to work within shorter windows of consistent illumination.
Step 7: Capture Multiple Frames And Angles
Do not stop at a single shot. Capture the product from various angles: front, back, side, top, and 45-degree. Today’s buyers expect a full visual understanding of what they are buying. Take multiple exposures and compositions to give yourself options during selection. For detail-oriented products, take close-ups of textures, labels, and unique features using a macro lens to capture the fine details that influence purchase decisions. Each resulting image should communicate a specific attribute of the product that matters to the buyer.
Step 8: Edit And Finalize
Post-production is where your image is polished to its final form. Adjust exposure, white balance, color, and contrast to ensure true color representation. Clean up any dust spots and ensure the background looks seamless. To maintain catalog uniformity, crop images consistently and export them in the required formats and image resolution for each platform. The goal is to ensure each resulting image matches the visual standard set across the rest of your catalog. For businesses managing large product photography volumes, tools like WizStudio can handle much of this refinement automatically.
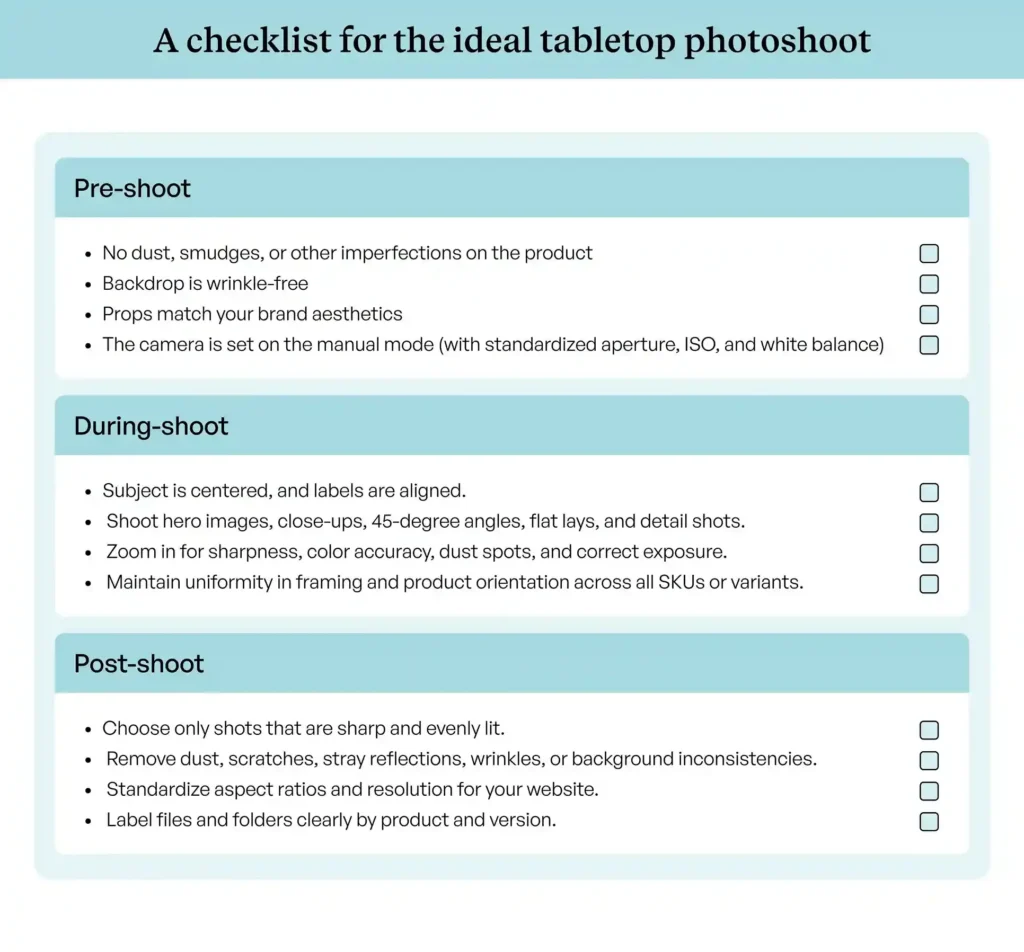
Additional Best Practices To Make Your Tabletop Product Photograph Stand Out
To push your tabletop photography product images beyond the basics, a few smart refinements can make all the difference. These best practices help you achieve the visual appeal demanded by today’s ecommerce buyers to convert:
- Experiment with backgrounds: Switch between white, colored, or textured backdrops. See which one enhances your product’s personality and select that. Acrylic panels, colored paper, and textured boards each create a different mood that can strengthen brand identity across your catalog.
- Use natural light whenever possible: A soft window light can create flattering and diffused illumination. This reduces harsh shadows and keeps your product looking true to life. Natural lighting is one of the most underused tools in small product photography and costs nothing to use.
- Use reflective surfaces smartly: Acrylic sheets or glossy tiles can add subtle reflections to your products. This will give them a premium feel that elevates product photos beyond basic catalog imagery.
- Always use a tripod or cable release: Stabilizing your camera avoids motion blur. A cable release or remote trigger ensures consistent framing across your entire product catalog, which is especially important when shooting at a slow shutter speed or narrow aperture for maximum depth of field.
- Try symmetrical product photos to create harmony: When you keep your products centered and balanced in the frame, it will naturally draw the viewer’s eye. This approach works especially well for table top photography setups where the flat surface and background are visually neutral.
- Use complementary props: Choose simple and brand-aligned props. More importantly, they should enhance the product story without competing for attention with the main subject.
- Incorporate scale indicators: Include subtle reference items or hand placements when necessary or add measurements to product photos directly. This will help buyers accurately understand product size, which is especially valuable for small items sold through an online store where physical inspection is not possible.

Is AI The Future Of Tabletop Photography?
Traditional tabletop photography can get expensive. Hiring a professional studio can cost you anywhere between $800 and $1,500 for a full-day session. This will rise exponentially when you have a large catalog.
Even a DIY setup is not necessarily budget-friendly. Purchasing a DSLR, softboxes, reflectors, backgrounds, and basic props all add up. Combined with the time required to learn composition and editing, the effort can create production bottlenecks before you even realize it.
With AI product photography generators, such scalability issues are non-existent. These platforms can deliver studio-quality results at a fraction of the traditional cost and time.
For starters, routine tasks like lighting correction, shadow creation, smart cropping, and background cleanup with an ai background remover are automated with remarkable accuracy. Secondly, these platforms come with advanced capabilities such as auto-generating lifestyle scenes and batch-editing entire product catalogs. This makes them the ideal tool for businesses that need to scale their visual content. AI as a tool works within a controlled environment to produce product images that meet the standards buyers expect from professional product photography, without the overhead that traditional setups demand.
As AI evolves, its impact on tabletop photography will grow even stronger. For new and upcoming ecommerce brands, the ability to produce high-quality visuals quickly and affordably will become a key advantage in competing with larger, better-resourced players.
And remember, tabletop photography is only one piece of the transformation. AI is reshaping multiple areas of ecommerce, from operations to customer experience. If you’d like to explore the broader impact, check out this article: AI in ecommerce – Transforming the future of online business. And if you want to go beyond tabletop setups specifically, our guide to the practices the best photographer websites rely on covers the wider craft of ecommerce photography.
Meet WizStudio: The Smarter Way To Create High-Impact Tabletop Visuals
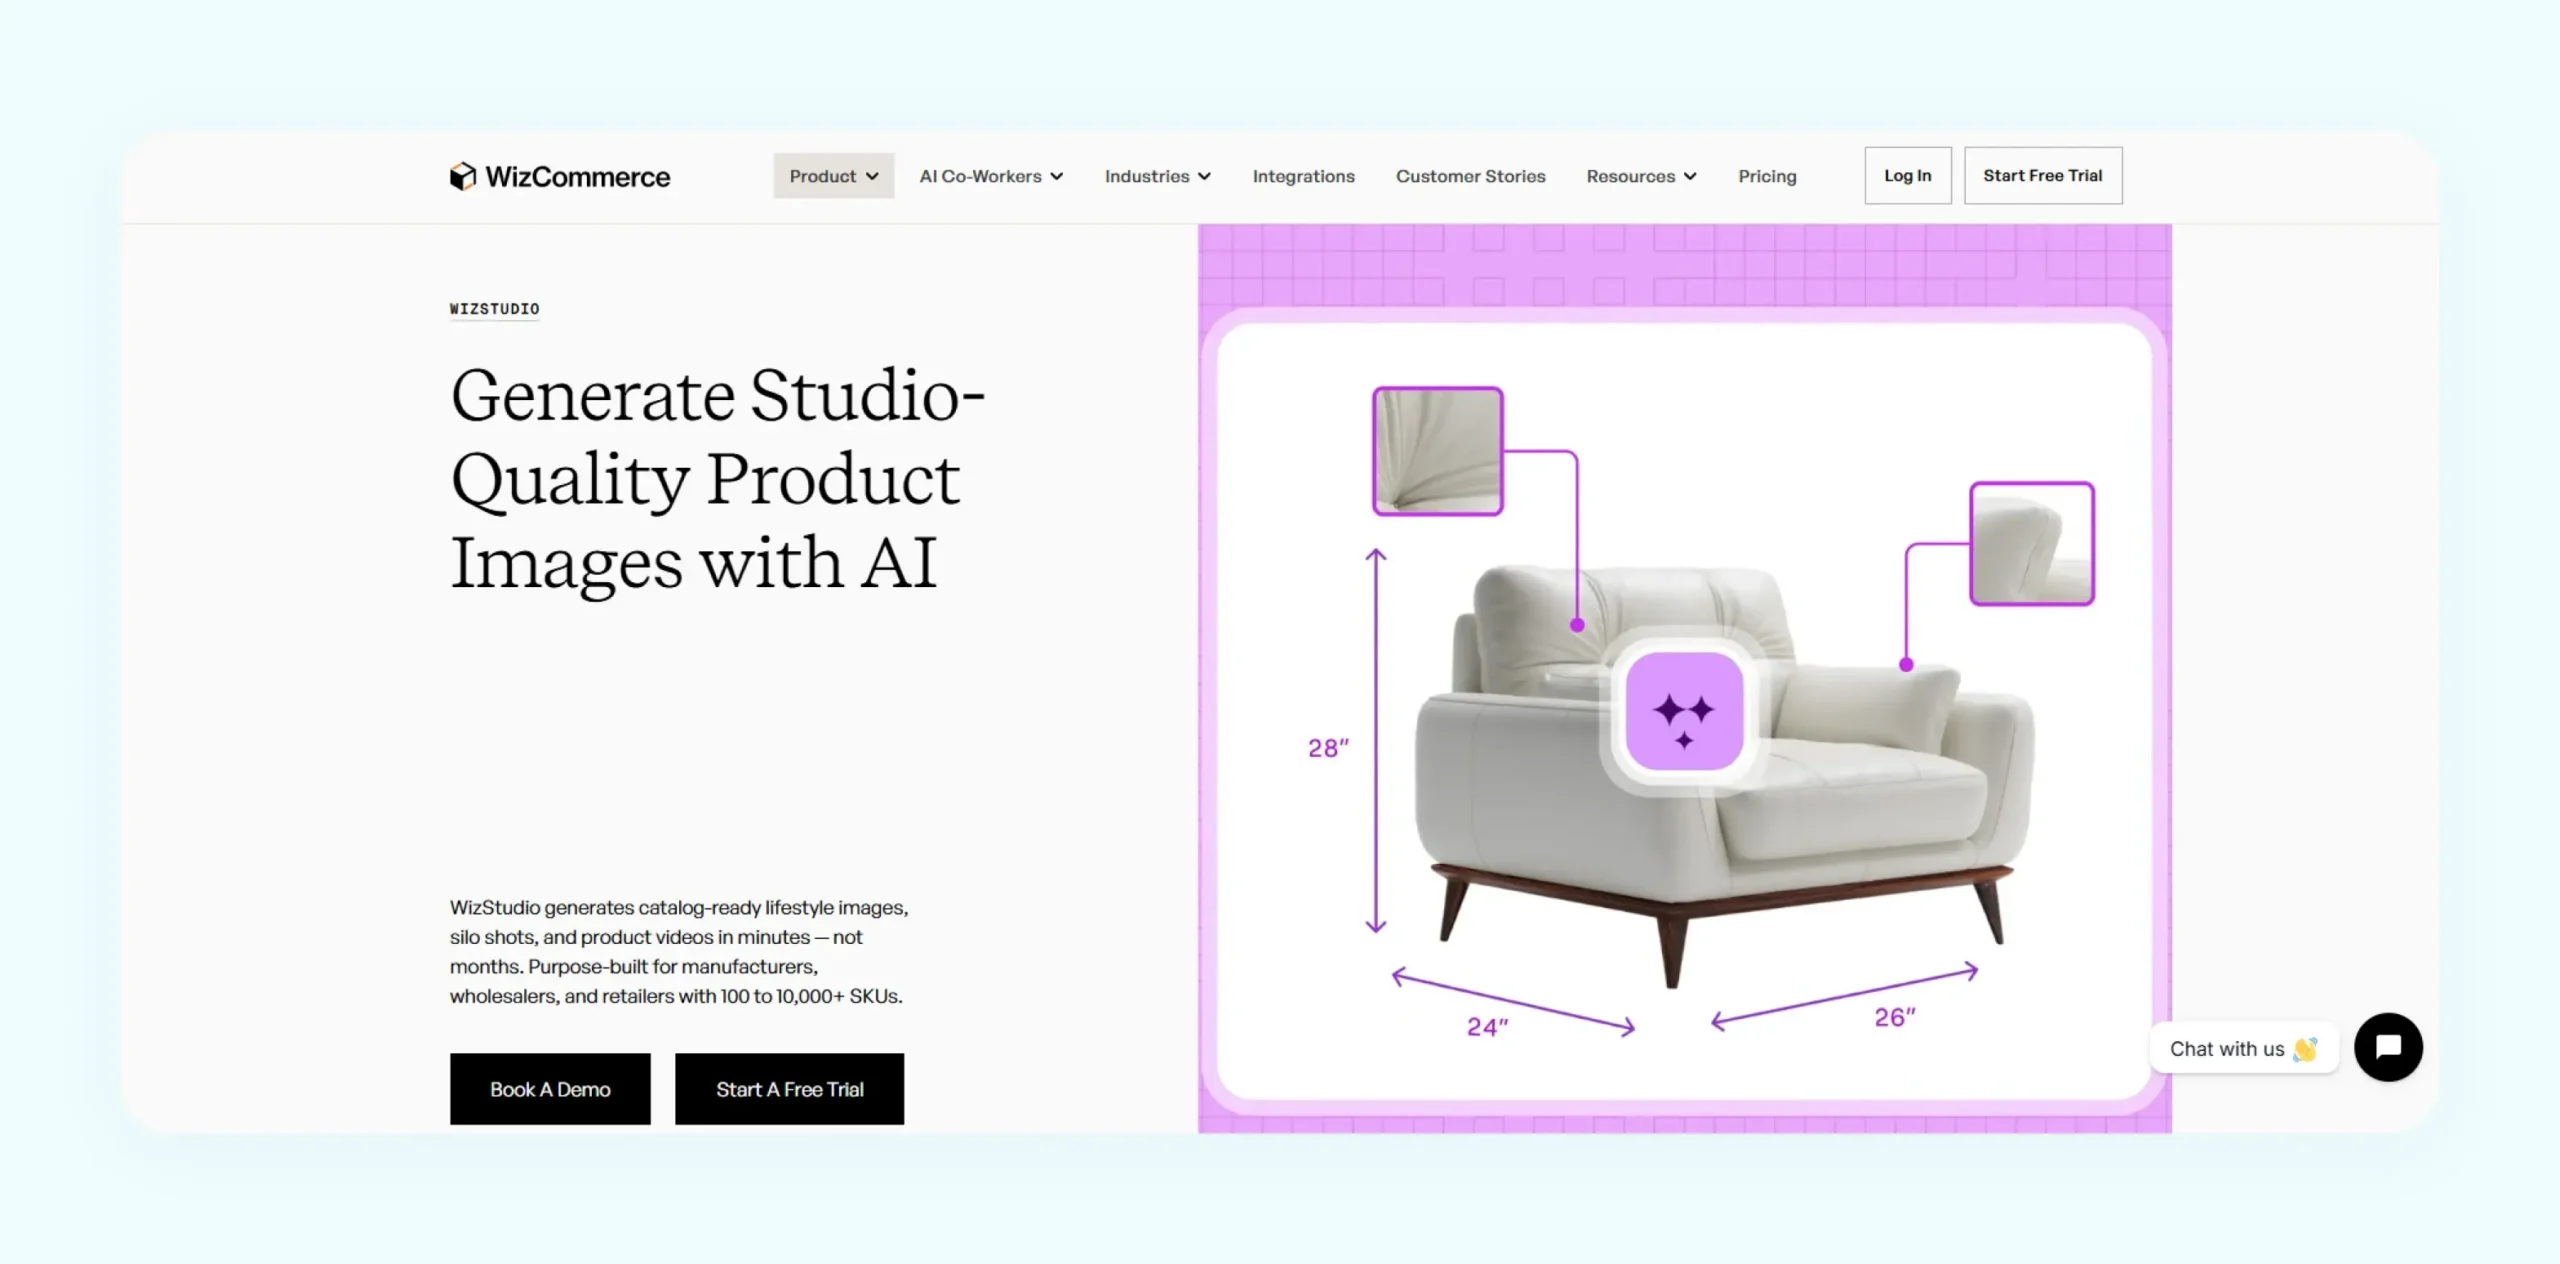
WizStudio is an ai product image generator that was designed to transform your ordinary tabletop product photos into high-impact visuals, without the complexity, cost, effort, or time associated with traditional tabletop studio setups. Instead of juggling props and multiple editing tools, you can transform your images using our intelligent AI-driven enhancements and generate creative variations.
Here are some key capabilities of WizStudio:
- Lifestyle image generator: You can transform simple tabletop shots into immersive lifestyle shots in seconds. Upload your base product image, describe the desired setting, and let AI handle the styling, whether it’s a single item or a full lineup styled through image generation with multiple products. No props to source and no elaborate sets to build. This is one of the most effective table top photography ideas for brands that need high volumes of styled content without the traditional production overhead.
- Multiproduct staging: Bring multiple products together in a cohesive tabletop arrangement without physically placing them side by side. WizStudio’s multi-product image generator lets you position and style several SKUs digitally, creating catalog-ready group tabletop photography shots in minutes.
- AI editing and enhancement suite: Refine and polish your tabletop visuals with intelligent editing tools that mimic expert retouching. Add natural, realistic shadows, remove unwanted elements with an AI object remover, extend canvases for flexible cropping using an AI image extender, and adjust white balance and color accuracy across entire product ranges.
- Hybrid done-for-you service: If you want the human touch to refine your tabletop visuals, WizStudio can help with that too. Our done-for-you service blends AI efficiency with human creative finesse. You upload your product photos, and our experts enhance and refine them. We deliver professional-grade product images that are ready for your catalog, marketplace listing, or wholesale B2B ecommerce portal.
Below is a quick comparison to highlight how using WizStudio compares with the traditional tabletop photography workflow:
| Aspect | WizStudio | Traditional tabletop photography |
| Time | Minutes. AI handles lighting, cleanup, shadows, and variants through an ai image variation generator instantly. | Hours or days. Setup, shooting, reshoots, and manual post-production take longer. |
| Cost | Low and predictable. No studio rentals or high-end gear required. | High. Cost can escalate quickly when you have a large catalog. |
| Consistency | High. Easy to maintain uniform angles and style across entire catalogs. | Varies. It depends heavily on lighting conditions and the photographer’s skill. |
| Skills needed | Minimal. No photography or editing expertise required. | High. Requires extensive knowledge of composition and editing. |
| Creative variations | Generates multiple themes and lifestyle scenes from a single image. | Limited. Each variation requires a new shoot or extensive manual editing. |
| Scalability | Easily scales to hundreds or thousands of SKUs with batch processing. | Difficult. Each product requires a separate setup and manual editing. |
| Revisions | Instant. AI can update backgrounds, lighting, shadows, or crops in seconds. | Slow. Reshoots or detailed retouching are often needed for even minor changes. |
Want to experience WizStudio first hand? Sign up for a free trial now.
Frequently Asked Questions
1. How To Take A Top-Down Photo?
To capture a clean top-down photo, mount your camera directly above the setup using a tripod with a horizontal arm or a sturdy overhead rig. Keep the background flat and clutter-free. Use soft and even lighting. More importantly, ensure all objects are aligned within the frame. Finally, take multiple shots to adjust spacing and angles.
2. What Equipment Do I Need To Start Tabletop Photography At Home?
A basic home setup only requires a camera or smartphone, a tripod, and soft lighting (window light). You can use simple backgrounds like whiteboards or colored sheets. You can also use small props available at home to enhance the visual.
3. How Do I Set Up Lighting For Tabletop Photography To Avoid Harsh Shadows?
Use soft lighting to minimize harsh shadows. Natural lighting works well. If you have the budget, you can invest in a softbox or LED panel and place them at a 45-degree angle. Additionally, you may add a reflector opposite the light to fill in shadows and maintain balance. A word of caution. Avoid placing lights too close or too directly, as this creates unwanted contrast.
4. How Do I Use Shooting Tents Or Domes For Tabletop Photography?
Shooting tents(light tents) or light domes diffuses light evenly around your product. They reduce glare and harsh shadows. To use them, place your product inside and light it from the sides or top. Use the built-in diffusing fabric to soften the illumination. They are especially useful for reflective objects and small ecommerce items that need uniform lighting.
5. What Backgrounds Work Well For Tabletop Photography?
White, neutral, or lightly textured backgrounds work best for tabletop photography because they keep the product or main subject in focus. They also make sure that your catalog remains consistent. You can choose colored or white paper, acrylic sheets, or fabric, depending on your brand aesthetic.
6. What Are The Common Mistakes To Avoid In Tabletop Photography?
Common mistakes include using harsh artificial lighting, cluttered backgrounds, inconsistent angles, and ignoring reflections or dust. Overusing props or mixing color tones can also distract the viewer’s attention from the product.
7. How Do I Photograph Small Objects Effectively On A Tabletop?
Use a macro lens or your camera’s macro mode to capture fine details. Ensure the object is well-lit with diffused light to avoid harsh shadows. Use reflectors to brighten darker areas. Keep the background simple and stabilize the camera with a tripod to maintain sharp focus, especially at close distances.
8. What Are Some Unique Tabletop Photography Ideas?
Experiment with creative concepts like mirror reflections, textured backgrounds, monochrome color themes, or levitation-style compositions. Try arranging products in geometric patterns or using dramatic side lighting. Try incorporating subtle motion with falling elements. Seasonal setups can also make your final shot fresh and unique.
9. Can I do tabletop photography without a professional camera?
Yes. Modern smartphones with good sensors and manual mode controls can produce strong tabletop photography results for ecommerce listings and social media. The key is pairing your phone with a tripod for stability, a consistent light source for even illumination, and a clean background to keep the focus on the product. For detailed shots of small items, smartphone macro attachments are an affordable alternative to a dedicated macro lens and work well for brands starting their product photography journey.
10. What is the difference between tabletop photography and flat lay photography?
Tabletop photography is the broader category. It includes any shot where products are arranged and photographed on a flat surface in a controlled environment. Flat lay is a specific style within table top photography where the camera is positioned directly overhead, shooting straight down onto the surface. All flat lay photography is tabletop photography, yet tabletop photography also includes eye-level, angled, and close-up shots that flat lay does not cover.